🧩 Lesson: Fused Deposition Modeling (FDM)
✅ Summary
Fused Deposition Modeling (FDM), also known as Fused Filament Fabrication (FFF), is the most accessible and widely used 3D printing technology. It builds objects layer by layer by melting and extruding thermoplastic filament through a heated nozzle. In this lesson, you’ll explore how FDM works, what materials it uses, key settings for slicing, and why it’s a popular choice for prototyping and hobbyist applications.
🎯 Learning Objectives
By the end of this lesson, learners will be able to:
-
Describe how FDM 3D printing works from file to finished print
-
Identify common filament materials and their properties
-
Adjust slicing parameters like layer height, infill, and retraction
-
Recognize the strengths and limitations of FDM
-
Select FDM for appropriate use cases in prototyping and creative projects
🔁 1. How FDM Works: The Process Step by Step
1.1 Model Preparation
-
A digital 3D model (usually STL or 3MF) is created using CAD software.
-
This model is imported into slicing software (e.g., Cura, Orca Slicer), which slices it into layers and generates G-code instructions.
1.2 Printer Setup
-
A spool of thermoplastic filament is loaded into the extruder.
-
The FDM printer includes a heated nozzle, a build platform, and motors to move the nozzle in X, Y, and Z directions.
1.3 Extrusion & Layer Building
-
The filament is heated and pushed through the nozzle.
-
The printer deposits the melted material onto the build plate, tracing the sliced layer.
-
Once a layer is complete, the print head moves up or the bed lowers, and the next layer is deposited.
1.4 Cooling and Bonding
-
The plastic cools and solidifies quickly, bonding to the layer below.
-
Cooling fans help control this process to prevent warping.
1.5 Infill and Support
-
Infill adds structure inside the part (usually a grid or honeycomb pattern).
-
Supports are temporary structures that hold up overhangs during printing.
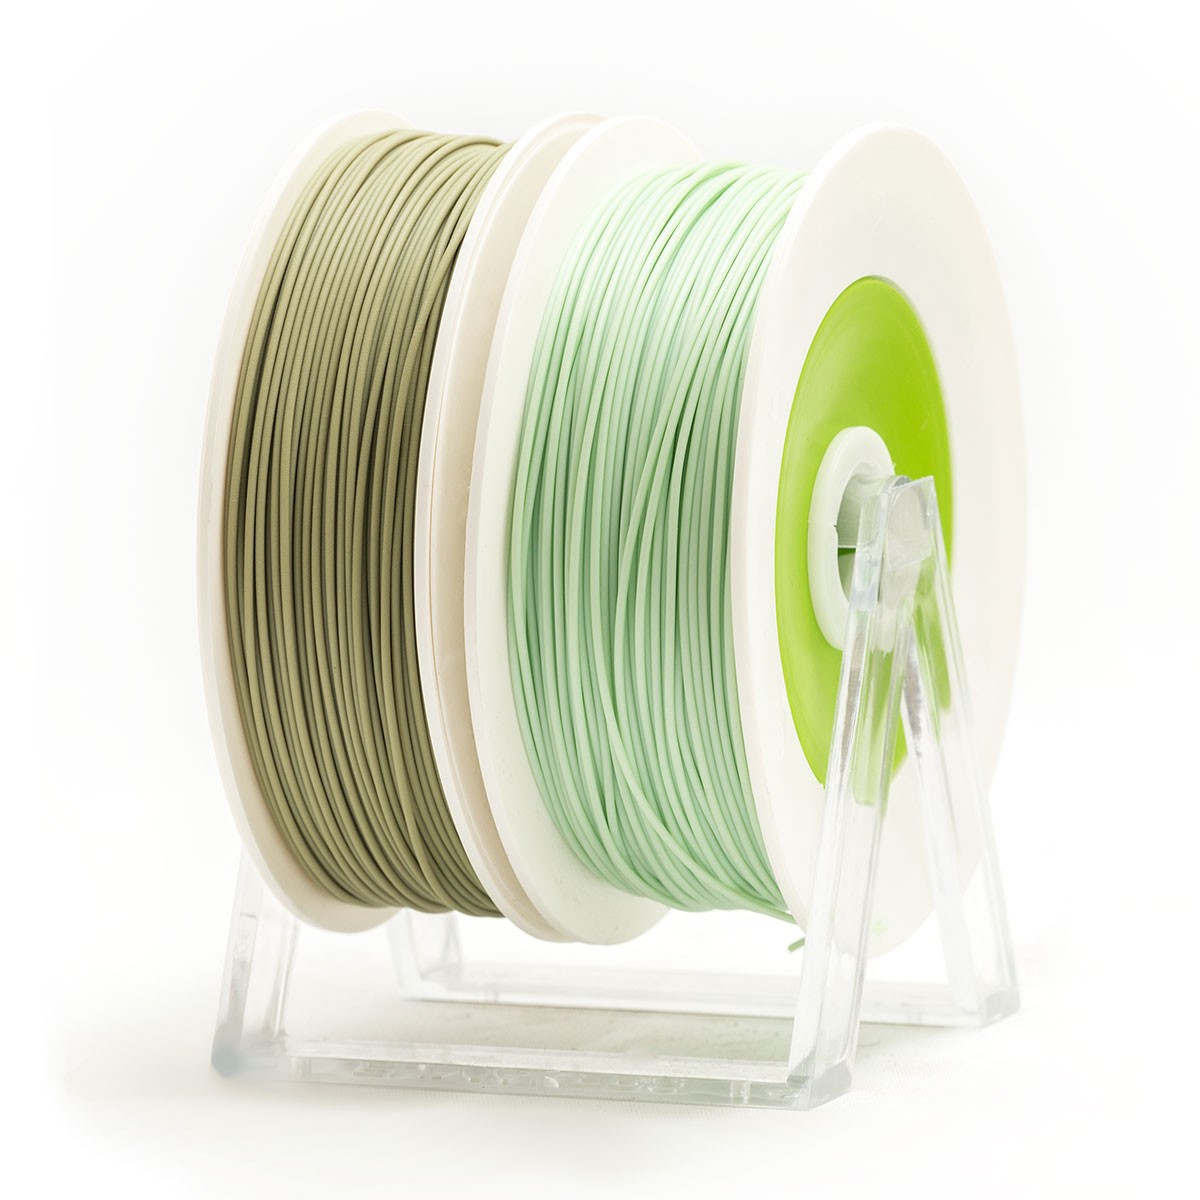
🧵 2. Filament Materials Used in FDM
| Material | Description | Best For |
|---|---|---|
| PLA | Easy to use, biodegradable, low-temp | Prototypes, decorative objects |
| ABS | Stronger, heat-resistant, prone to warping | Enclosures, tools |
| PETG | Water-resistant, flexible, strong | Outdoor parts, containers |
| TPU | Flexible and elastic | Gaskets, phone cases |
| Nylon | Durable, abrasion-resistant | Gears, mechanical parts |
Specialty filaments include wood, metal, and carbon-fiber infused materials.
⚙️ 3. Essential Print Settings (Slicing FDM Models)
🔹 3.1 Layer Height (Resolution)
-
Determines print detail. Lower height = smoother prints
-
Common settings:
-
0.2mm (standard)
-
0.1mm (high resolution)
-
0.3mm+ (draft/fast prints)
-
-
Smaller layers = longer print time but better detail
🔹 3.2 Shell Thickness
-
Refers to the number of perimeter walls.
-
Standard = 2 shells (0.8mm); strong prints = 4–5 shells
-
Impacts strength more than infill
🔹 3.3 Retraction
-
Pulls filament back when moving between islands to prevent stringing
-
Too little = oozing; too much = jams
-
Essential for clean prints
🔹 3.4 Infill Density
-
Controls how solid the inside of the print is
-
10–20% for decoration, 40–50% for strength
-
0% for fast drafts, 100% for full solid parts
-
Infill pattern also affects strength and appearance
🧰 4. Applications of FDM
✅ Prototyping
-
Functional Prototypes: Test fit, form, and function
-
Proof-of-Concept Models: Demonstrate ideas before committing to tooling
-
Product Development: Ergonomics and market feedback
-
Custom Tooling: Jigs and fixtures for production
-
Architectural Models: Scaled buildings for presentations
✅ Hobbyist and Personal Projects
-
Repairs and Custom Parts: Replacements for household items or devices
-
Miniatures & Models: For tabletop games, dioramas, displays
-
Arts & Crafts: Sculptures, home decor, custom jewelry
-
STEM Education: Robotics, engineering design, physics experiments
-
Gadgets & Accessories: Mounts, holders, phone stands, etc.
💡 5. Advantages of FDM
-
✅ Low Cost: Affordable printers and materials
-
✅ Accessible: Beginner-friendly, large support community
-
✅ Versatile Materials: From flexible to rigid filaments
-
✅ Fast Prototyping: Great for iteration and design testing
-
✅ Scalable: From home use to professional prototyping
⚠️ 6. Limitations of FDM
-
❌ Visible Layer Lines: Affects finish and detail
-
❌ Lower Resolution: Not ideal for miniatures or ultra-fine features
-
❌ Strength Limitations: Parts may break or delaminate
-
❌ Warping/Cracking: Especially with ABS and Nylon
-
❌ Anisotropic Strength: Weaker along layer lines
🧠 7. Summary
Fused Deposition Modeling is an ideal entry point into the world of 3D printing. It offers affordability, flexibility, and ease of use—making it perfect for students, hobbyists, and professionals alike. While it may not match the detail of resin or the strength of industrial methods, its benefits make it a staple in prototyping, manufacturing, and maker communities.
