Course Content
Part I: What is 3D Printing?
This section gives an overview of what 3D Printing is and is origins.
0/3
Part II: Creating a 3D Model
The first step in the 3D Printing process. Creating a 3D model is a process integral to various fields, including animation, gaming, architecture, engineering, and 3D printing. It involves constructing a digital three-dimensional representation of any object or surface.
0/4
Part III: The Print Process
This lesson provides a comprehensive understanding of the 3D printing process across various technologies, focusing on the most commonly used methods like Stereolithography (SLA), Fused Deposition Modeling (FDM), Selective Laser Sintering (SLS), and others.
0/5
Part VI: 3D Scanning in-depth
From our previous lesson on Intro to 3D Scanning, we go more in-depth on the 3D Scanning process.
Part VII: The Future
Private: 3D Printing Course!
About Lesson

Fused Deposition Modeling (FDM), also known as Fused Filament Fabrication (FFF), is a widely used 3D printing technology that creates parts layer-by-layer through the extrusion of thermoplastic material. Here’s an overview of the FDM process with a focus on the extrusion aspect:

  1. Preparation of the 3D Model: Like other 3D printing technologies, FDM begins with a digital 3D model, typically created using CAD software. This model is then sliced into thin, horizontal layers using slicing software, which converts the model into a series of instructions (G-code) for the FDM printer.

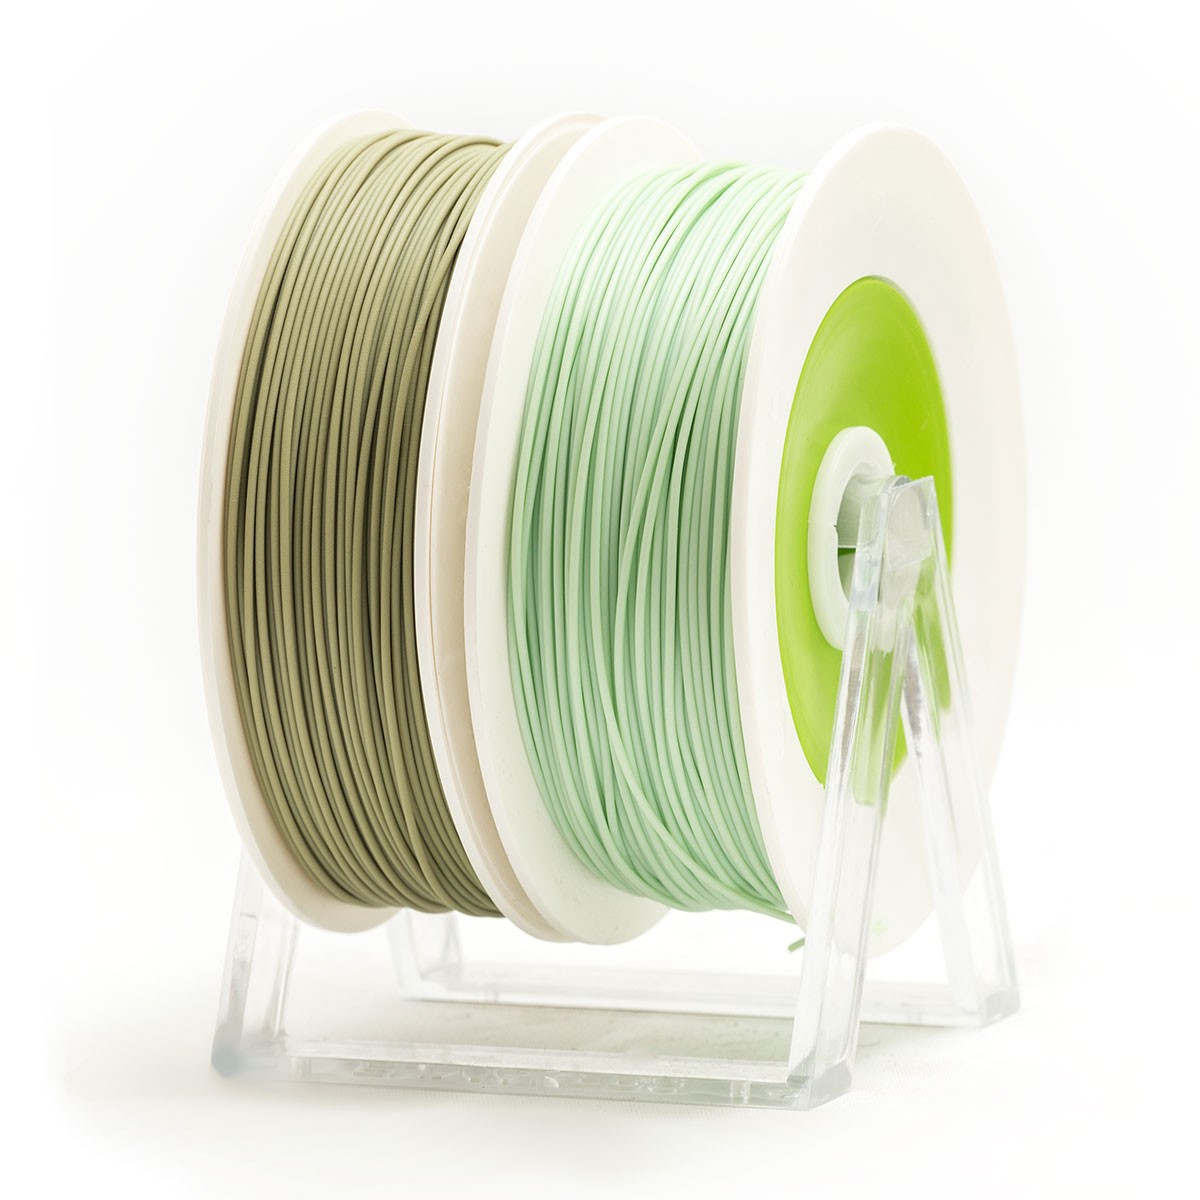
  2. Filament Material: The primary material used in FDM is a thermoplastic filament. Common materials include ABS (Acrylonitrile Butadiene Styrene), PLA (Polylactic Acid), PETG (Polyethylene Terephthalate Glycol), and specialty filaments infused with materials like wood, metal, or carbon fiber for specific properties.

  3. The FDM Printer Setup: An FDM printer generally consists of a build platform (or bed), an extruder with a heated nozzle, and a spool of filament. The extruder is mounted on a movable head that is controlled in the X, Y, and Z axes.

  4. Heating and Extrusion:

    • The filament is fed from the spool through a drive gear to the extruder nozzle.
    • The nozzle, heated to a specific temperature suitable for the material, melts the filament.
    • The molten thermoplastic is extruded through the nozzle onto the build platform.
  5. Layer-by-Layer Building:

    • The printer lays down the melted material in thin layers, following the path outlined by the slicing software.
    • The material cools and solidifies quickly after being deposited, bonding to the layer beneath.
    • The build platform lowers (or the extruder head moves up) after each layer is completed, allowing for the next layer to be deposited on top.
  6. Infill and Support Structures:

    • FDM allows for varying degrees of infill density, which can save material and reduce print time while maintaining part strength.
    • Support structures are often printed along with the part to support overhangs and are removed after printing.
  7. Cooling and Solidification: As the thermoplastic cools, it solidifies, maintaining the shape of the 3D model. Cooling must be controlled to prevent warping or deformation of the part.

  8. Post-Processing: After printing, the object may require post-processing, such as removing support structures, sanding for a smoother finish, or painting.

Key Aspects of FDM:

  • Simplicity and Accessibility: FDM is popular due to its simplicity, affordability, and accessibility. It’s widely used by hobbyists, in education, and for rapid prototyping.
  • Material Versatility: The range of thermoplastic materials available for FDM means it can produce a wide variety of parts, from rigid to flexible, with varying properties.
  • Strength and Durability: FDM parts can be strong and functional, suitable for a range of applications, though they are typically not as strong as injection-molded parts.

FDM’s ability to transform a digital model into a physical object by extruding and layering thermoplastic material makes it one of the most versatile and widely used 3D printing technologies. Its relative ease of use and wide range of applicable materials make it a popular choice for both personal and professional use.


Print Settings (FDM)

1. Layer Height

Think of layer height as the resolution of your print. This setting specifies the height of each individual layer of filament in your print.  Prints made with thinner layers will create more detailed prints with a smoother surface where it’s difficult to see each layer. The downside of thinner layers is that it takes more time to print something, since there will be more layers that make up your object; standard layers are 0.2mm tall, a higher resolution 0.1mm will at a minimum double your print times.

If you’re printing something without detail, a thicker layer might be a better option to get you a finished 3D print faster but its surface will be rougher and the individual layers will be more visible.  Low resolution printing is good for things like prototyping where details may not be necessary and where speed dominates. 

If you want to print something with intricate details, you will get the best print with a thinner layer height. Cura recommends settings of .05mm for a high resolution print like this Tudor Rose Box by Louise Driggers. There does become a point where a layer height that adequately captures all the details of your model will take days to 3D print even for a small model, and it’s at this point you may want to consider a resin 3D printer to handle your detailed project and use an FFF printer for your larger projects. If you do choose to print detailed with an FFF machine, 0.1mm is a reasonable lower limit for a 0.4mm nozzle.

2. Shell Thickness

Shells refers to the number of times the outer walls, or perimeters, of the design are traced by the 3D printer before starting the hollow inner sections of your design. This defines the thickness of the side walls and is one of the biggest factors in the strength of your print. Increasing this number will create thicker walls and improve the strength of the print. It is automatically set to .8, or 2 perimeters, so there shouldn’t be any reason to change this for decorative prints.  If you print something that will need more durability you may want to increase shell thickness up to 4 or 5 perimeters for tougher use cases.

3. Retraction

This feature tells the printer to pull the filament back from the nozzle and stop extruding filament when there are discontinuous surfaces in your print, like this one: (image here)

Retraction is almost always enabled, unless you are 3D printing with a flexible material that is less responsive to retractions. An improperly calibrated retraction can sometimes cause filament to jam; a retraction setting too high will pull molten plastic up into the cold side of the hotend where it solidifies and can’t be pushed back out. In this case, lowering the retraction distance can improve this.. If you find there is too much filament oozing out of the nozzle, leaving your print with a bunch of strings or clumps on the outer edges, then your retraction settings are too low and can be gradually increased.

4. Fill Density

Infill refers to the density of the space inside the outer shell of an object. You’ll notice this is measured in % instead of mm like the layer height.  If an object is printed with 100% infill, it will be completely solid. The higher the percentage of infill, the stronger and heavier the object will be and the more time and filament it will take to print. This can get expensive and time consuming if you’re printing with infill higher than necessary on every 3D print – so keep in mind what you’ll be using your print for. 

If you’re creating an item for display, 10-20% infill is recommended.  If you need something that is going to be more functional and sturdy, 40-50% infill is  more appropriate, and increasing perimeters at the same time will get more strength for less material. Slicer’s auto-generatednfill patterns create different grid-like patterns inside your object which gives the top layers of your model more support. 0%-5% infill can be valuable for fast prototypes that don’t need to be strong or look good and instead are just necessary to support later layers rather than provide any sort of strength.

One of our community members, Dan Steele is a fan of more infill than less:  

“For infill I have rarely found myself regretting adding to much, and have often been disappointed by adding to little.  For something with a large surface area on top I would generally use a minimum of 18% infill.  For something I wanted to be mechanically strong I would throw an extra shell in and go up to 40% infill.”


Fused Deposition Modeling (FDM) has become a staple in both prototyping and hobbyist projects due to its accessibility, ease of use, and the versatility of materials. Here are some common uses of FDM in these areas:

Prototyping

  1. Functional Prototypes: FDM is widely used to create functional prototypes that can be tested for form, fit, and function. Its ability to produce robust parts quickly and cost-effectively makes it ideal for iterative design processes where prototypes need to be produced, tested, and modified repeatedly.

  2. Proof-of-Concept Models: Designers and engineers often use FDM to create proof-of-concept models. These models help in demonstrating the feasibility of a concept or design before investing in more expensive manufacturing processes.

  3. Product Development: In product development, FDM allows for rapid creation of prototypes that resemble the final product, which is crucial for ergonomic studies, aesthetic evaluations, and market testing.

  4. Custom Tooling and Fixtures: FDM is used to create custom jigs, fixtures, and tooling for manufacturing processes. This application is particularly valuable in reducing the cost and time required for producing these essential components.

  5. Architectural Models: Architects and designers use FDM to create scale models of buildings and structures. These models are helpful for design validation, client presentations, and as a tool for spatial planning.

Hobbyist Projects

  1. Custom Parts and Repairs: Hobbyists use FDM to create custom replacement parts or components for DIY projects, repairs, and modifications. This includes everything from household items to custom parts for cars or drones.

  2. Model Making and Miniatures: FDM is popular in the model-making community, especially for creating detailed models and miniatures for tabletop gaming, model railways, and dioramas.

  3. Crafts and Artistic Projects: Artists and crafters use FDM for creating sculptures, jewelry, home decor items, and other artistic projects. The technology allows for experimenting with different forms, textures, and materials.

  4. Educational Projects: FDM is commonly found in educational settings, where students use it for projects in STEM (Science, Technology, Engineering, and Mathematics) education, robotics, and design courses.

  5. Personal Gadgets and Accessories: From phone cases to camera mounts, hobbyists use FDM to design and print personalized gadgets and accessories, often custom-fitted to their specific needs.

Key Advantages for Prototyping and Hobbyist Projects

  • Cost-Effectiveness: FDM is one of the most cost-effective 3D printing technologies, making it accessible for individual hobbyists and small businesses.
  • Ease of Use: FDM printers are generally user-friendly, with a gentle learning curve, suitable for beginners.
  • Material Diversity: The wide range of available thermoplastic materials, from basic PLA to advanced composites, allows users to choose materials based on the specific needs of their project.
  • Rapid Iteration: The speed of FDM printing enables quick iterations, which is essential in prototyping and for hobbyists experimenting with new designs.

In summary, FDM’s versatility, combined with its cost-effectiveness and ease of use, makes it a preferred choice for a wide range of applications, from professional prototyping to diverse hobbyist projects.


Fused Deposition Modeling (FDM) is highly regarded for its ease of use and accessibility, making it one of the most popular 3D printing technologies, especially for beginners and hobbyists. However, it also has certain limitations in terms of resolution and material strength that are important to consider.

Ease of Use and Accessibility

  1. User-Friendly: FDM printers are generally straightforward to operate. Many models are designed with beginners in mind, featuring simple interfaces and automated calibration processes.

  2. Wide Availability: FDM printers are widely available and come in a range of sizes and prices, from affordable desktop models for hobbyists to larger, more advanced systems for professional use.

  3. Material Handling: FDM uses thermoplastic filaments, which are typically easy to handle, store, and load into the printer. There’s a wide range of filament types available, catering to different needs and applications.

  4. Maintenance and Upkeep: FDM printers usually require less maintenance compared to other 3D printing technologies. Basic tasks like nozzle cleaning and bed leveling are often simple enough for users to perform themselves.

  5. Community and Support: There is a large and active community around FDM printing, providing extensive resources, tutorials, and forums for troubleshooting, which makes it easier for beginners to learn and solve problems.

Limitations in Resolution and Material Strength

  1. Layer Lines and Surface Finish: FDM prints layer by layer, which can result in visible layer lines on the finished product. This can affect the aesthetic quality and may require post-processing for a smoother finish.

  2. Lower Resolution: Compared to technologies like SLA or SLS, FDM generally has a lower resolution. Achieving fine details can be challenging, especially for very small or intricate designs.

  3. Material Strength: While FDM materials are versatile, they can have limitations in strength and durability. FDM parts are typically not as strong as those made with traditional manufacturing methods, and their strength can be anisotropic – meaning they are stronger in some directions than others.

  4. Warping and Dimensional Accuracy: FDM parts can suffer from warping, especially when printing with materials prone to thermal contraction like ABS. This can affect the dimensional accuracy of the printed parts.

  5. Limited by Material Properties: The range of materials available for FDM, primarily thermoplastics, can limit its application in scenarios requiring higher temperature resistance, chemical resistance, or mechanical strength.

In summary, FDM’s user-friendliness and accessibility have contributed significantly to its popularity in the 3D printing community. Its affordability and the supportive ecosystem make it an excellent entry point into 3D printing. However, its limitations in terms of resolution and material strength are important factors to consider, especially for applications requiring high precision or mechanical robustness. For hobbyists and those producing prototypes, these limitations are often an acceptable trade-off for the benefits FDM offers.


Sign-up for our newsletter. Be the first to hear about Canion3D Inc. news.
Subscribe
close-image
Translate »